From Webflow to Headless: The Migration Playbook That Actually Works
The decision is made. You've seen the performance data. You've done the pricing math. You're tired of hitting Webflow's walls. But now the real question arrives: how do you actually do this without blowing up your traffic, confusing your content team, or burning three months of engineering runway?
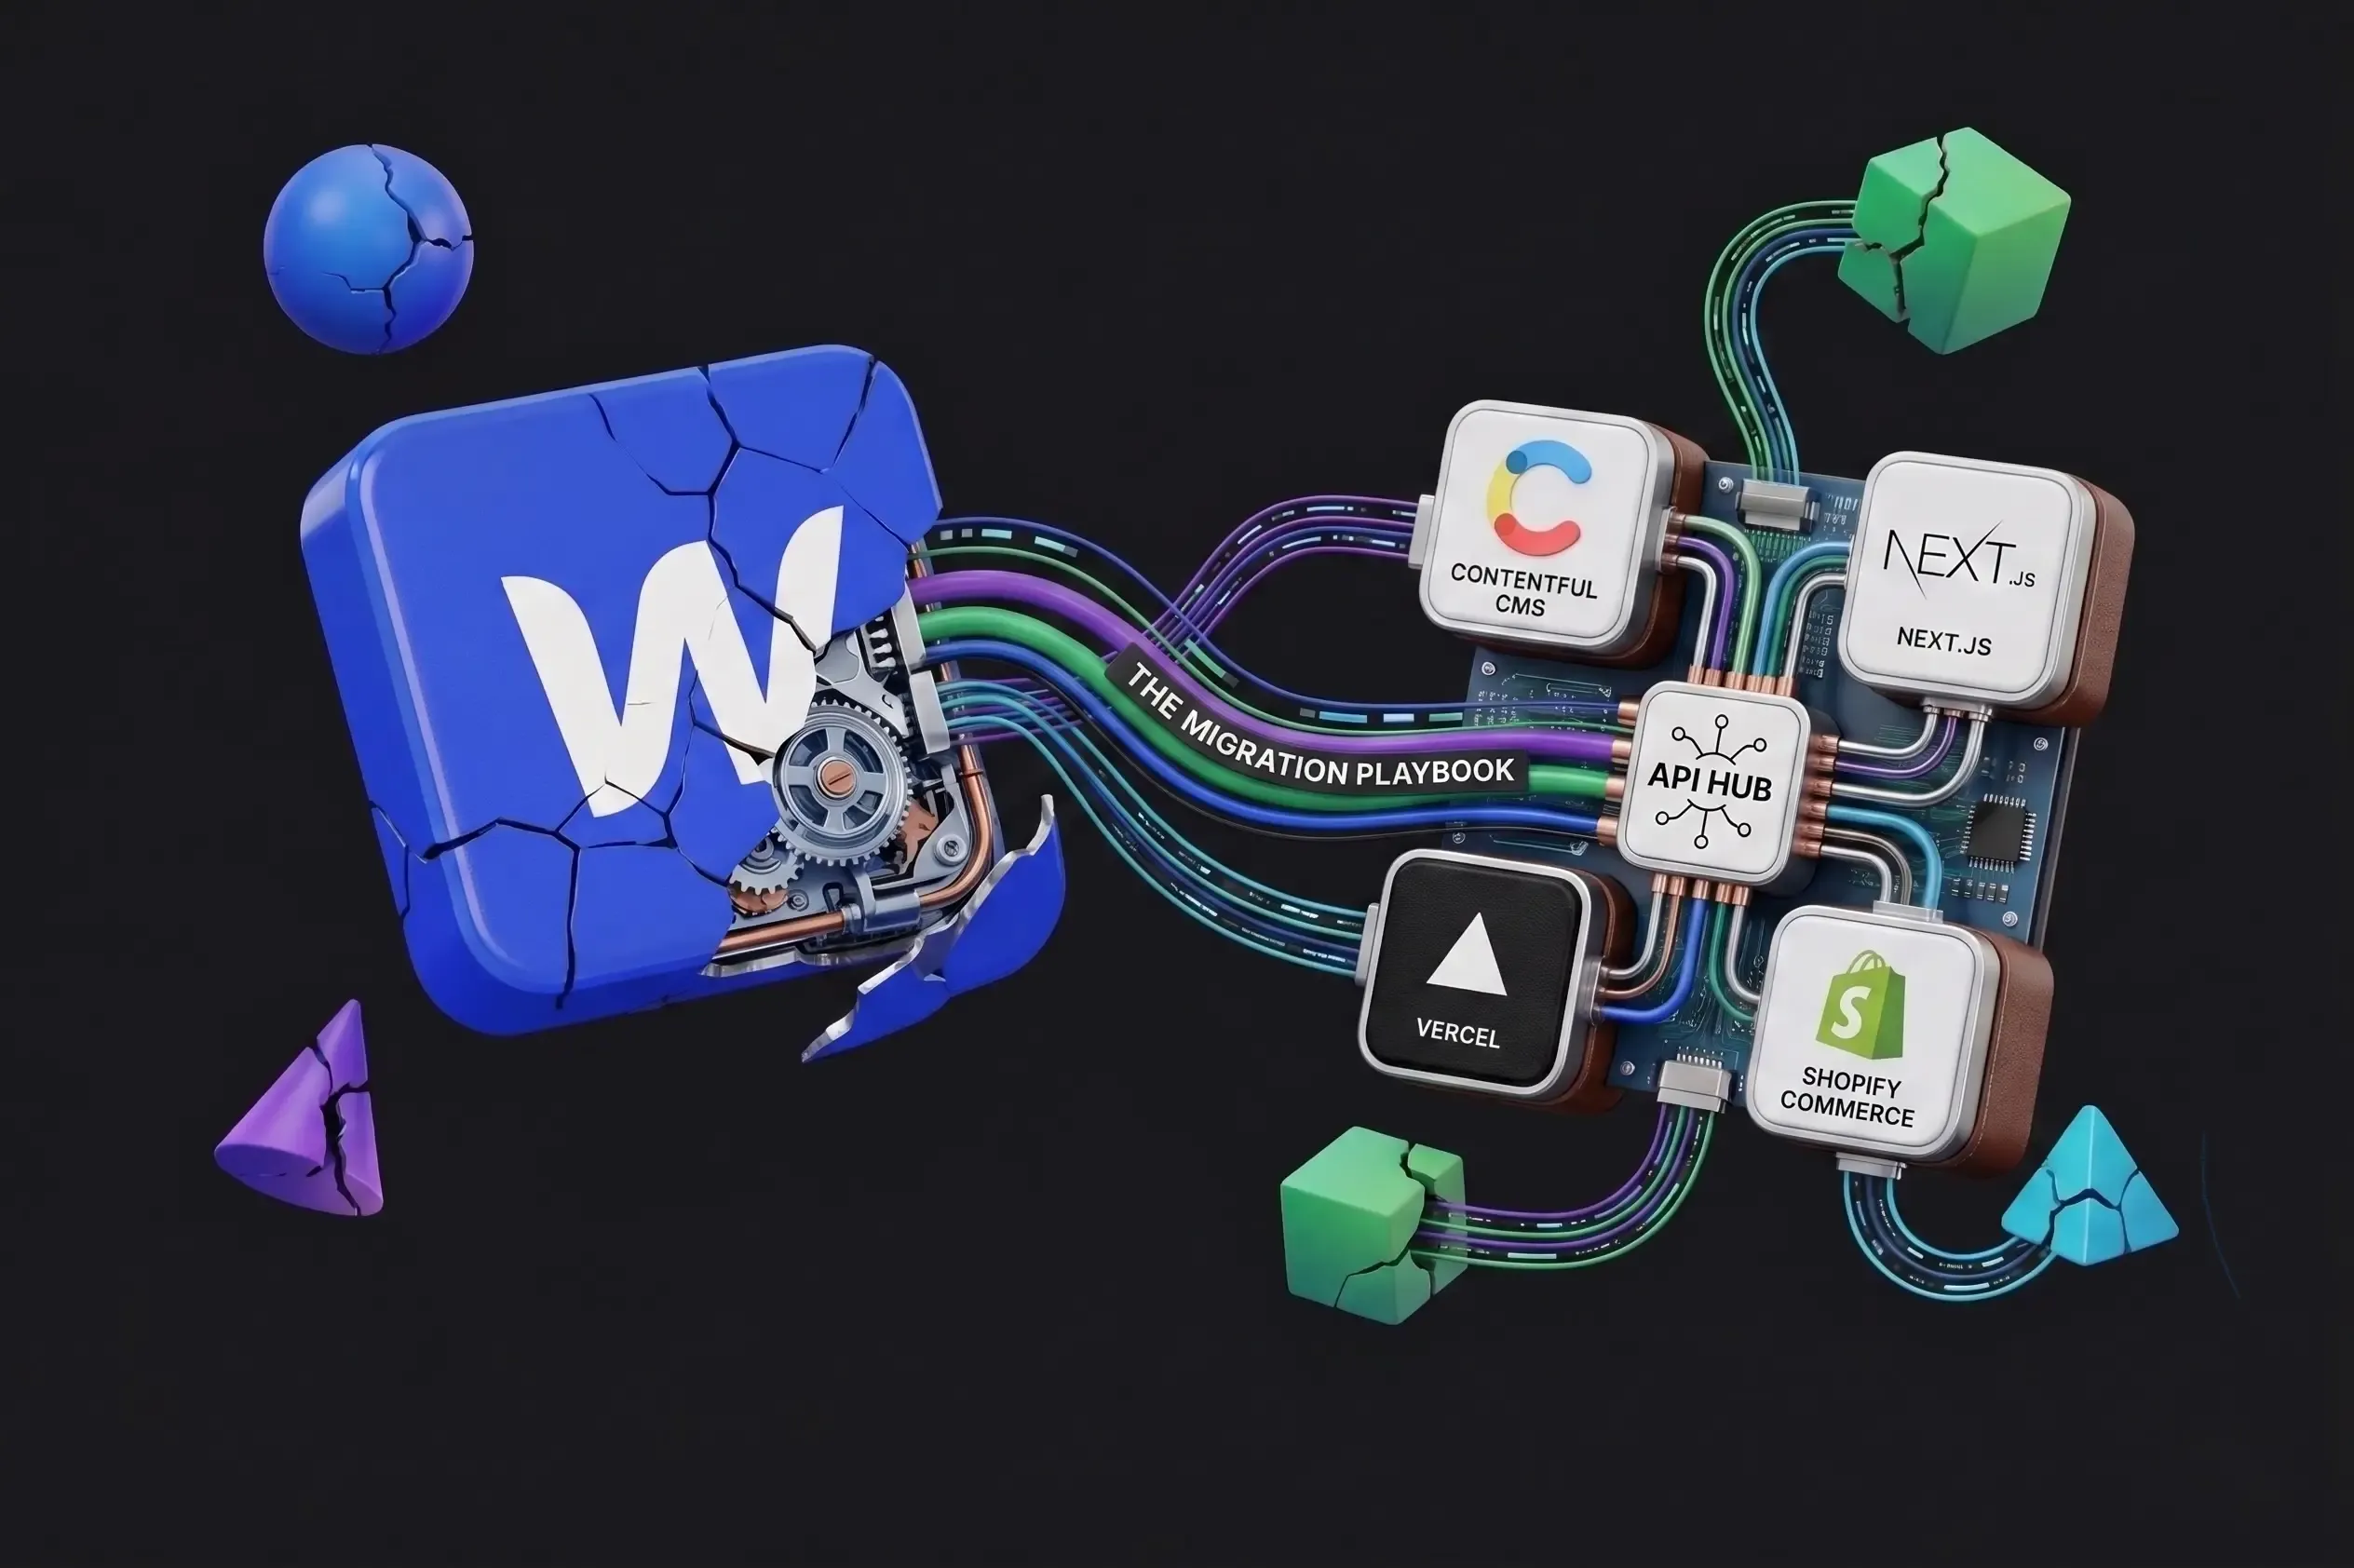
This is where most teams stall. Not because the migration is impossible — it isn't. But because nobody gave them a clear, honest map of what the journey actually looks like. This post is that map. We've migrated more than a dozen sites from Webflow to Next.js + headless CMS stacks. The patterns are consistent. The pitfalls are predictable. And the results — when you follow the right sequence — are transformative.
Before You Start — The Pre-Migration Audit
Migrating without auditing first is like renovating a house without checking for structural issues. The audit phase takes one to two weeks and saves months of rework.
Step 1: Inventory Everything
Create a complete content inventory. You need to know: how many static pages and CMS collection types you have, how many CMS items in each collection, which pages use dynamic CMS bindings, whether there are script embeds or third-party integrations (Hotjar, Intercom, HubSpot), and which Webflow interactions are essential vs. nice-to-have.
Step 2: Establish a Baseline
Before you touch anything, capture your current performance baselines. Export your top 50 keywords from Google Search Console. Run and document current Lighthouse scores (LCP, INP, CLS) for your 5 most important pages. Note your organic sessions, bounce rate, and conversion rate for the trailing 30 days. These numbers are your 'before' photo. You'll need them to demonstrate ROI post-migration.
Step 3: Choose Your Headless CMS
Not all headless CMS platforms are the same. Your choice should be driven by your team's technical depth and content operation needs. Payload CMS is best for dev teams wanting full control over complex data models — it's open-source and TypeScript-native, running self-hosted or on cloud. Sanity suits content-heavy teams who need real-time collaboration on a hosted platform. Contentful serves enterprise teams with complex governance requirements. For most growing businesses migrating from Webflow, Payload CMS strikes the best balance: open-source, deeply flexible, TypeScript-native, and it pairs naturally with Next.js.
Choosing Your Architecture — The Decisions That Matter
Next.js Hosting: Where Will Your Site Live?
Vercel offers the best developer experience with instant preview deployments and ISR support — costs scale with traffic. Netlify is solid for static site generation. AWS, GCP, or Fly.io give full control and are cost-efficient at scale but require DevOps effort. Cloudflare Pages is edge-first and globally fast. For most migrations, Vercel is the right starting point. You can always optimize infrastructure later once you've proven the model.
Design Approach: Redesign or Replicate?
This is the biggest strategic fork in the migration road. Option A (Replicate) means recreating the existing Webflow design in Next.js/React — lower risk, faster, minimal content team disruption. Option B (Redesign) uses the migration as an opportunity to overhaul the design — higher effort, higher reward. Our recommendation: replicate the design first, then iterate. Doing both at once is a recipe for scope creep and a delayed launch.
Phase 1: Foundation (Weeks 1–2)
Goal: set up the technical environment. Nothing launches yet. Initialize Next.js with TypeScript, set up Payload CMS with your collection schema, configure local development, establish Git workflow (main, staging, dev branches), set up Vercel with preview deployments enabled, and configure environment variables for CMS API connection.
- Initialize Next.js project with TypeScript
- Set up Payload CMS with your collection schema
- Configure local development environment
- Establish Git workflow: main, staging, and dev branches
- Set up Vercel project with preview deployments enabled
- Configure environment variables for CMS API connection
Deliverable: a working local dev environment where a developer can create a page and see it render. Team involved: 1–2 developers. Content team not yet needed.
Phase 2: Content Migration (Weeks 2–4)
Goal: move all content from Webflow's CMS into the headless CMS. This is the most manual phase.
- Export from Webflow: Go to each Collection → Settings → Export CSV
- Clean the CSV: Remove Webflow-specific columns, fix rich text formatting
- Map fields: Map Webflow field names to your new headless CMS schema
- Import: Use the CMS's API or bulk import tool
Important: rich text content in Webflow CMS exports as HTML strings. Most headless CMSes store rich text as JSON (portable text, Lexical, etc.). You'll need a conversion script — worth investing one day of developer time to automate. For images, download all media assets and re-upload to your new CMS media library or an object storage service (AWS S3, Cloudflare R2), then update all image references in migrated content.
Phase 3: Frontend Development (Weeks 3–8)
Goal: build the Next.js frontend that renders your content beautifully and fast. This phase runs partially parallel to Phase 2.
Recommended development order: global components first (header, footer, navigation), then layout and design system (typography, color tokens, spacing), then high-priority static pages (Home, About, Pricing, Contact), then CMS-driven templates (blog post, case study), then CMS-driven listing pages, and finally edge cases (404, search, sitemap.xml, robots.txt).
For rebuilding Webflow interactions: most can be rebuilt in CSS alone — transitions, hover states, entrance animations. Use the Intersection Observer API for scroll-triggered animations. CSS @keyframes for entrance effects. Reserve React animation libraries (Framer Motion, GSAP) for complex sequences only — don't add them by default.
SEO Implementation Checklist During Build
- generateMetadata function per page template pulling from CMS
- sitemap.ts generating a dynamic sitemap from all CMS collections
- robots.ts with correct crawl directives
- JSON-LD schema components for Article, Product, Organization, BreadcrumbList
- Next.js <Image> component for all images — no raw <img> tags
- Canonical URL set on every page
- Open Graph tags including og:image per page
Phase 4: Launch and Post-Launch (Weeks 8–10)
Goal: go live with zero SEO regression, confirm performance gains, and hand off to the content team.
Redirects (Critical)
Map every old Webflow URL to its new URL and implement as 301 redirects in next.config.ts. If your Webflow URL structure changes at all, every redirect must be correct or you lose ranking authority. The most common post-launch mistake is assuming redirects are 'good enough.' Audit every redirect. A single broken redirect on a high-authority page can cost you months of ranking recovery time.
DNS Cutover Strategy
- Lower your DNS TTL to 300 seconds (5 minutes) 48 hours before launch
- Deploy the final Next.js build to Vercel
- Update DNS to point to Vercel
- Monitor Search Console for crawl errors in real time for the first 48 hours
Post-Launch Verification
- Submit updated sitemap to Google Search Console
- Run a full site crawl with Screaming Frog or Ahrefs to catch broken links or missing redirects
- Re-run Lighthouse on your 5 priority pages and document the improvement
- Check Analytics for organic traffic patterns over the first 2 weeks
Common Pitfalls — And How to Avoid Them
- Migrating and redesigning simultaneously: Scope creep is the primary reason migrations go over budget and schedule. Lock the design to 'close match' for the initial launch. Plan a design iteration sprint 30 days post-launch.
- Forgetting the redirect map until the last week: Redirects are not an afterthought. For sites with significant organic traffic, a missing redirect on a key page can cause rankings to drop or disappear entirely. Start building the redirect map in Phase 1.
- Rebuilding Webflow interactions in JavaScript: Profile first. Most Webflow interactions are cosmetic. CSS handles 80% of them with better performance. Only reach for JavaScript animation when CSS genuinely can't do the job.
- Not training the content team before launch: Editors who arrive on launch day to a new CMS they've never used will resist it. Run at least two 30-minute training sessions 1–2 weeks before launch. Record them.
- Not setting up analytics on the staging build: Verify that your analytics tracking is firing correctly before launch. Catching a broken implementation post-launch means a gap in your data during the most critical observation period.
What to Expect After Launch — Realistic Timelines
- Week 1–2: Googlebot discovers the new site and begins recrawling. Some keyword positions may fluctuate temporarily — this is normal during index refreshes.
- Month 1: Core Web Vitals scores begin appearing in Search Console. If redirects were correct, ranking positions should be stable or improving.
- Month 2–3: LCP improvements translate into ranking gains on competitive keywords. Content team is operating independently in the new CMS.
- Month 3–6: Compounding benefits kick in. New blog posts publish faster, index faster, rank faster. Development team can ship new features without Webflow constraints.
Conclusion: Migration Is a Strategy, Not Just a Technical Task
Moving from Webflow to Next.js + headless is not a weekend project. But it's also not the terrifying, months-long ordeal that decision paralysis makes it feel like. With a clean pre-migration audit, the right architecture decisions, a phased approach, and rigorous redirect management, teams complete migrations in 6–10 weeks with minimal disruption to organic traffic and a dramatically improved platform on the other side.
The businesses that treat this as a strategic investment — not just a technical upgrade — are the ones that look back at it as a turning point. Faster site. Better rankings. Empowered content team. Freed engineering team.
The playbook works. The only question is when you start. Book a free migration strategy call — we'll walk through your current Webflow setup, scope the effort honestly, and give you a clear timeline and cost estimate.


